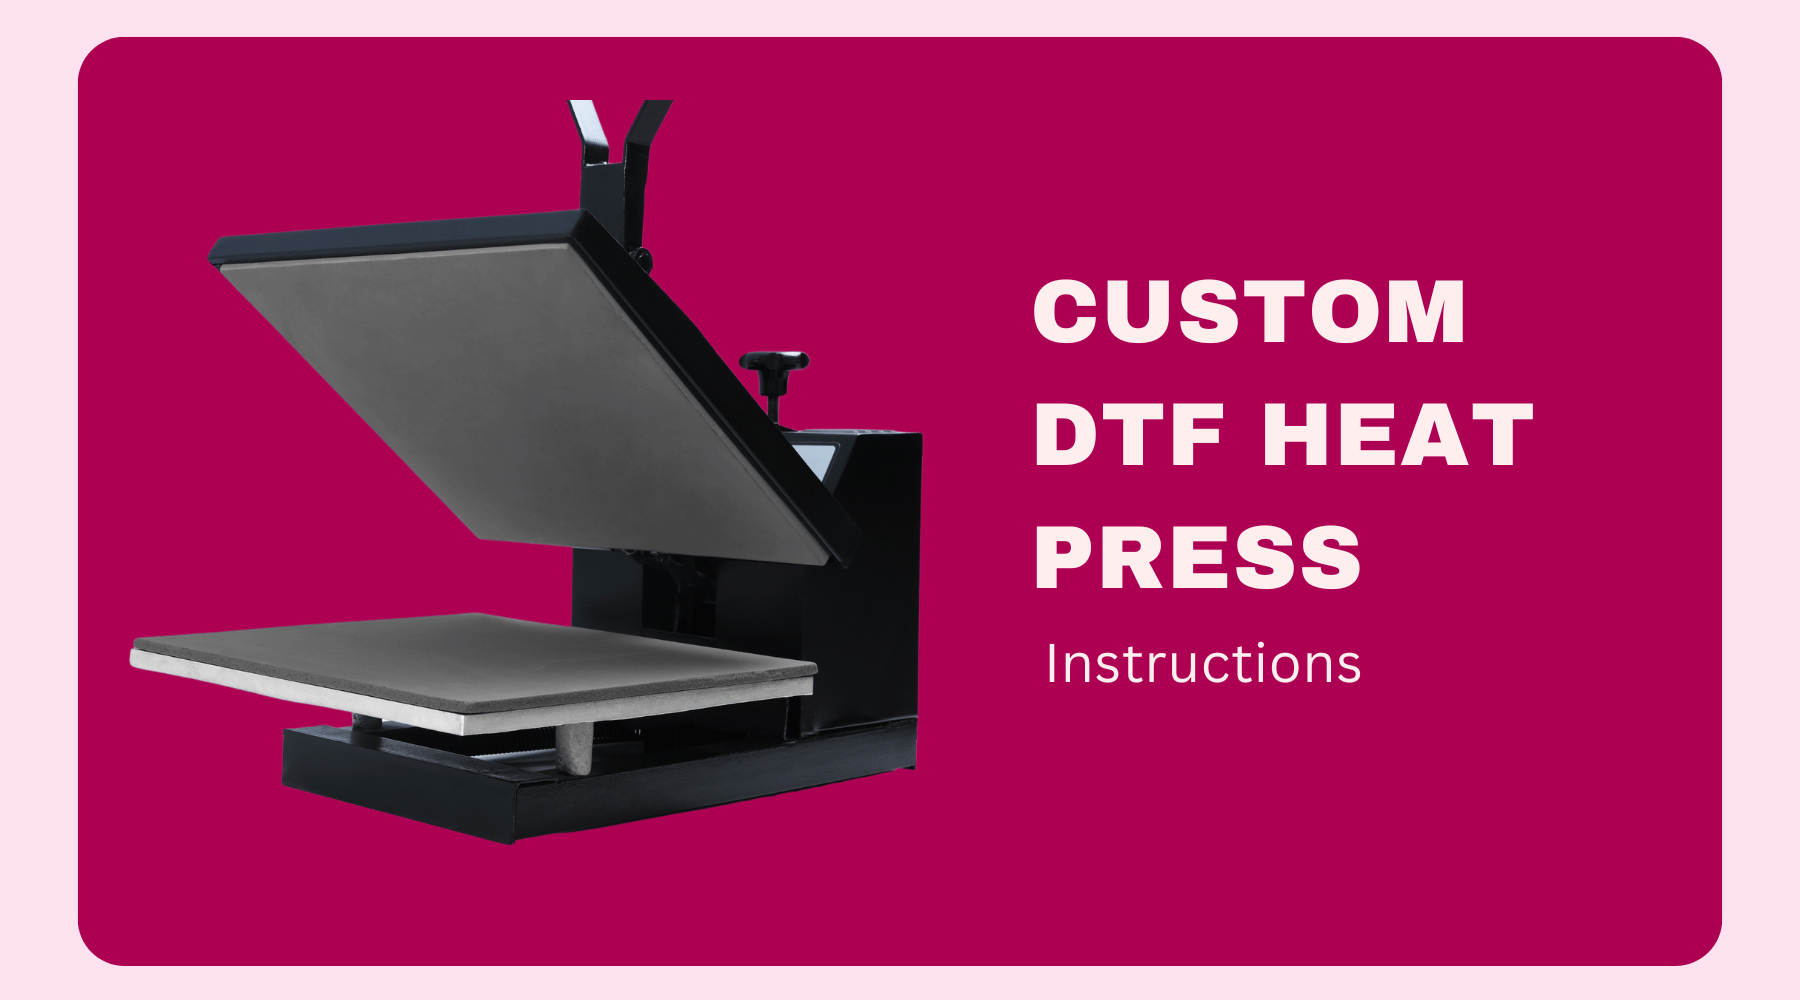
DTF (Direct-to-Film) custom heat transfers have revolutionized the world of fabric printing, offering a versatile and high-quality option for transferring intricate designs onto a variety of fabrics. Whether you're a beginner or an experienced user looking to refine your technique, understanding the correct DTF heat press settings and process is crucial.
This comprehensive guide will take you through each step, from preparing your design to the final pressing, ensuring you achieve flawless transfers every time.
Preparing Your Design
Before you start the pressing process, it’s vital to ensure your design is of the highest quality. Here are some tips for preparing your design:
- Resolution: Use images with at least 300 DPI to ensure clarity and avoid pixilation.
- Color Profile: Ensure your design uses vibrant and accurate colors. Use RGB color profile for digital designs and convert to CMYK if required by your printer.
- File Format: Save your design in a compatible format like PNG, PSD, or TIFF with a transparent background.
Equipment and Materials Needed
- DTF Printer: For printing your design onto DTF film.
- DTF Film: Specially coated film designed for DTF printing.
- Adhesive Powder: To ensure the ink adheres to the film.
- Heat Press Machine: Adjustable for temperature, time, and pressure.
- Teflon Sheet or Parchment Paper: To protect your design and heat press.
DTF Heat Press Settings
Understanding and correctly setting your heat press is key to achieving the best transfer results. Let’s break down the steps and settings required for the process.
1st Press:
- Temperature: Set your heat press to 300-315 degrees Fahrenheit. This temperature range ensures the adhesive powder melts properly, creating a strong bond between the film and fabric.
- Time: Press for 10-13 seconds. This duration is sufficient to activate the adhesive without damaging the fabric.
- Pressure: Apply firm pressure. The exact pressure may vary depending on your heat press, but it should be firm enough to ensure even contact between the film and the fabric
Peeling Options:
- Cold Peel: Allow the transfer to cool completely before removing the film. This method provides the best adhesion and is less likely to cause issues.
- Hot Peel: Quickly peel off the film in one swift motion while it's still hot. This method can be trickier and may require practice to avoid lifting the design.
- Warm Peel: Gently peel off the film while it’s still warm. This is a middle-ground option that combines ease of peeling with good adhesion.
2nd Press:
- Time: Apply firm pressure again for 3-5 seconds. This second press ensures the transfer is fully adhered and enhances durability.
- Heat Settings: The temperature can usually remain the same, but always check based on the specific material.
DTF Transfer Instructions for Different Materials
Different fabric printing require specific adjustments to the heat press settings. Here are tailored instructions for common fabric types:
Cotton and Cotton/Polyester Blends:
Follow the general settings outlined above for both the first and second press. Cotton and its blends handle the standard DTF settings well.
100% Polyester:
- Temperature: Reduce the temperature to 250-275 degrees Fahrenheit. Polyester is more sensitive to heat and can scorch or melt at higher temperatures.
- Time: Shorten the pressing time to 7-8 seconds for the first press. The second press should still be 3-5 seconds.
- Pressure: Apply firm pressure, but be cautious to avoid imprinting any heat press marks on the fabric.
Experimentation and Adjustments
Every heat press machine and fabric can react differently. It’s important to experiment with your settings to find what works best for your specific circumstances. Here are some tips for effective experimentation:
- Test on Scraps: Use scrap pieces of your fabric to test different settings before committing to your final product.
- Keep Notes: Document the settings you use and the results you achieve. This will help you replicate successful transfers and avoid previous mistakes.
- Adjust in Small Increments: Make small adjustments to temperature, time, and pressure to fine-tune your process.
Common Issues and Troubleshooting
1. Image Not Sticking Properly:
- Ensure you are using firm pressure.
- Check that the temperature and time settings are correct.
2. Scorching or Melting:
- Lower the temperature, especially for sensitive fabrics like polyester.
- Reduce the pressing time.
3. Poor Image Quality:
- Use high-resolution images.
- Make sure your heat press is evenly distributing heat and pressure.
Conclusion
Mastering custom DTF heat transfers involves understanding the correct settings and techniques. By following these guidelines and experimenting with your equipment, you can achieve professional-quality results every time. Remember, the key to success is in the details: proper temperature, time, and pressure, along with high-quality designs and careful application. Happy pressing!
FAQs
What heat press settings for DTF transfers?
For DTF transfers, use a temperature of 300-315 degrees Fahrenheit with firm pressure for 10-13 seconds. Adjust based on fabric type.
How many seconds does it take to heat press a DTF?
It typically takes 10-13 seconds for the first press and 3-5 seconds for the second press. Adjustments may be necessary based on material.
Can you press DTF too long?
No, pressing DTF transfers for too long can cause damage to the design or fabric. Stick to the recommended times for best results.
What temperature to press DTF on 100% cotton?
For 100% cotton, press DTF transfers at 300-315 degrees Fahrenheit for 10-13 seconds.


